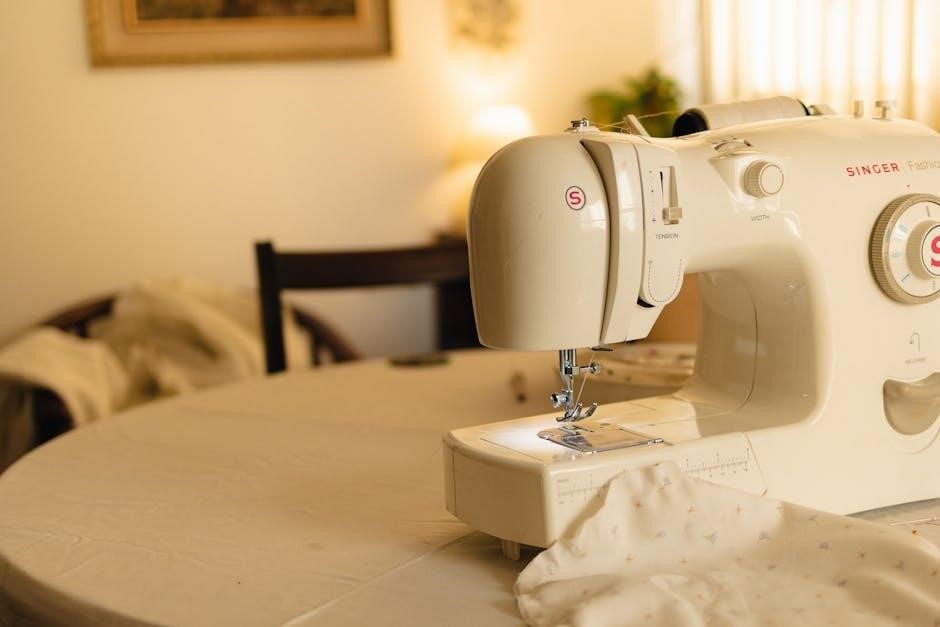
Singer sewing machines boast precision and durability, designed for seamless sewing experiences. Accessing the user manual online is now the standard, promoting a ‘Green Initiative’!
Understanding the Legacy
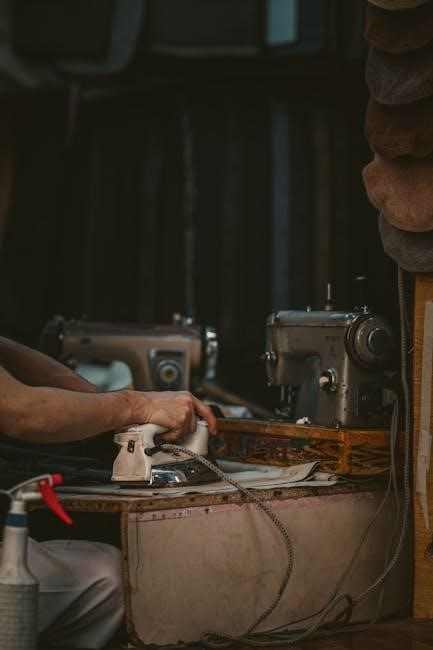
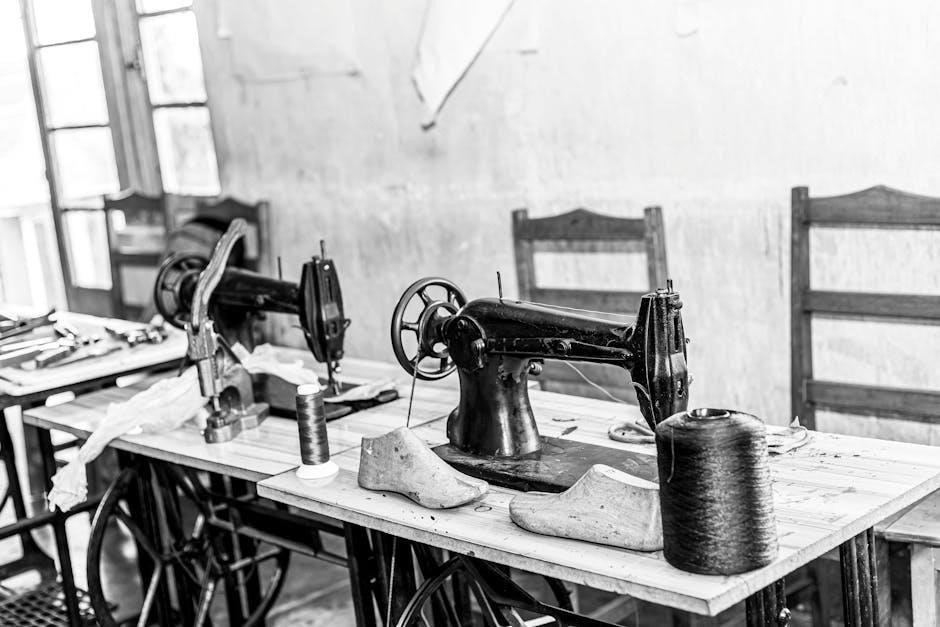
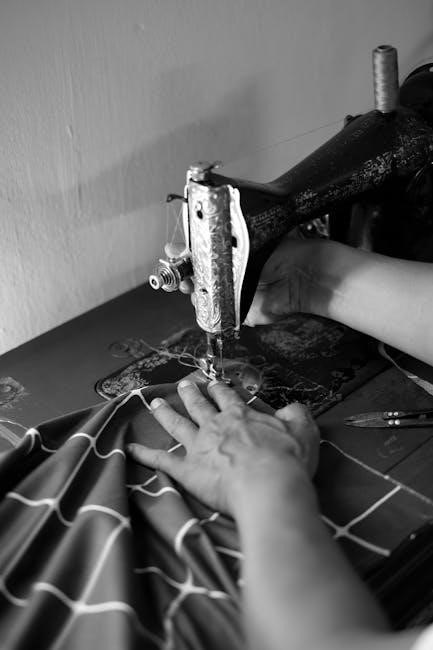
Singer’s enduring reputation stems from a commitment to quality, crafting machines for both novice and seasoned sewers. These vintage models represent an era of robust construction and innovative design.
Though originally accompanied by printed manuals, Singer now prioritizes digital accessibility, reflecting a modern ‘Green Initiative’. Finding these online resources unlocks a wealth of knowledge about your machine’s history and operation, ensuring its continued functionality for generations.
Dating Your Singer Machine
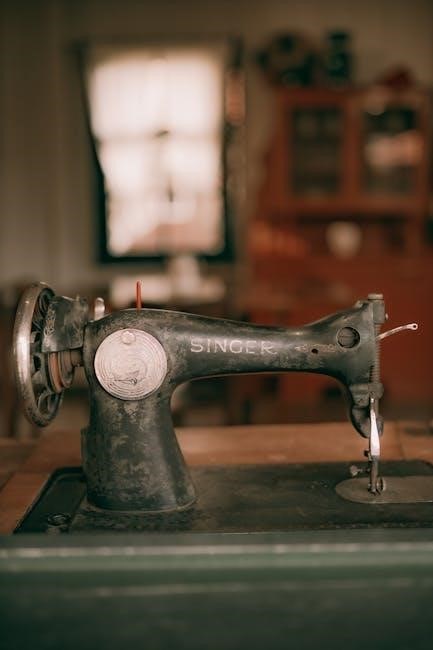
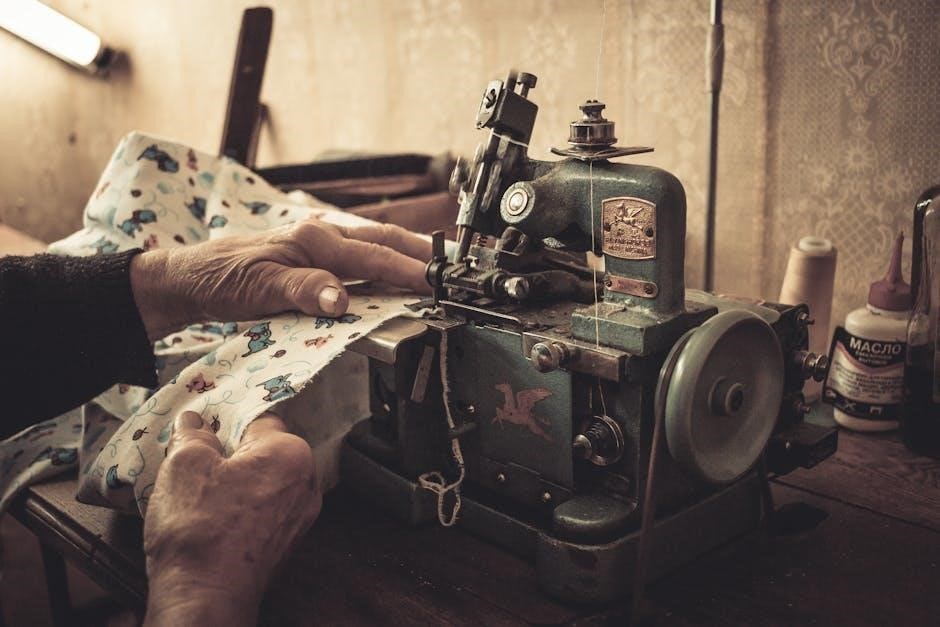
While the instruction manual itself doesn’t directly reveal the age, serial numbers are key to uncovering your machine’s history. Researching this number online, through dedicated vintage Singer communities, can pinpoint its manufacturing year.
Understanding the production timeline helps contextualize features and potential repair needs. Though modern manuals are readily available digitally, knowing the original era informs appropriate maintenance practices for your classic Singer.

Essential Parts and Their Functions
Singer machines feature key components like the bobbin, needle, and feed teeth. Correct needle and bobbin selection, as detailed in the manual, ensures optimal performance.
Identifying Key Components
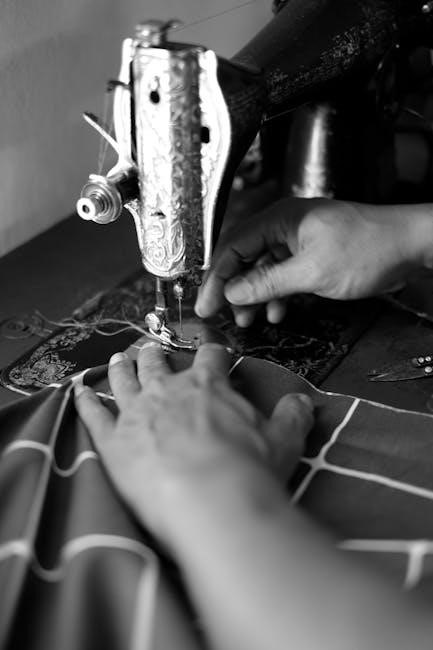
Singer sewing machines, even vintage models, share core parts. The manual highlights the importance of recognizing the needle, bobbin case, presser foot, feed dogs, and handwheel. Understanding these elements is crucial for operation and maintenance. A bent or damaged needle impacts stitch quality, requiring immediate replacement. Familiarize yourself with each part’s location and function as described in your machine’s specific documentation for efficient sewing and troubleshooting.
The Bobbin System Explained
Singer machines utilize a bobbin system for creating the lower stitch. The manual stresses using the correct bobbin style – typically a Class 15 transparent type. Proper bobbin winding and insertion are vital. Issues like skipped stitches often stem from bobbin problems, so ensure it’s correctly seated and the thread flows smoothly. Regular cleaning of the bobbin area prevents lint buildup and ensures consistent stitch formation.
Needle Types and Sizes
Singer manuals emphasize selecting the correct needle for your fabric. A bent, dull, or damaged needle causes issues; always replace it. Using the wrong size needle leads to skipped stitches or fabric damage. Refer to the manual for a chart matching needle size to fabric weight. Ensure proper insertion for optimal performance and prevent breakage.
Threading the Machine: A Step-by-Step Guide
Rethread the machine completely if experiencing issues. Proper threading is crucial for smooth operation, and the manual provides detailed instructions for both upper and lower threads.
Upper Threading Procedure
Begin by raising the presser foot; this opens the tension discs for proper thread flow. Next, guide the thread from the spool, through the first thread guide, and then down and around the tension discs. Ensure the thread seats firmly between them.
Continue threading upwards, through the take-up lever, and then down through the needle clamp. Finally, thread the needle from front to back. Incorrect threading will cause issues, so consult your machine’s manual for specific diagrams.
Lower Threading (Bobbin) Procedure
First, ensure you’re using the correct style bobbin for your Singer machine – typically a Class 15 transparent bobbin. Wind the bobbin evenly with thread, then insert it into the bobbin case, ensuring it clicks into place.
Next, guide the bobbin thread through the tension spring of the bobbin case and then up through the slot. Finally, insert the bobbin case into the machine, following the manual’s specific instructions for your model.
Tension Adjustment
Proper tension is crucial for balanced stitches. If the upper thread is too tight, the bobbin thread will show on the top. Conversely, if the upper thread is too loose, loops will form underneath.
Adjust the tension dial incrementally, testing on scrap fabric after each adjustment. Refer to your machine’s manual for specific tension settings based on fabric type and thread weight. Rethreading the machine completely can also resolve tension issues.

Basic Operation and Stitch Selection
Ensure the machine is powered on correctly and select your desired stitch – straight or zigzag. Avoid manually pushing fabric; let the feed teeth guide it.
Powering On and Off
Before operation, confirm your Singer machine is connected to a suitable power source. To begin, locate the power switch – typically found on the right side of the machine. Gently switch it to the ‘on’ position.
When finished sewing, always return the switch to the ‘off’ position. Disconnect the machine from the power source when not in use for extended periods, ensuring electrical safety and preventing accidental activation. Never attempt to repair electrical components yourself; seek professional assistance.
Straight Stitching
To achieve a straight stitch, select the appropriate stitch length using the designated dial. Ensure the stitch length is suitable for your fabric type. Gently depress the foot pedal to initiate sewing, guiding the fabric smoothly – do not manually pull or push it.
Allow the machine’s feed teeth to draw the fabric under the needle. Maintain a consistent speed for even stitches. Practice on scrap fabric to refine your technique before working on your project.
Zigzag Stitching
For zigzag stitching, adjust the stitch width and length dials to your desired settings. A wider stitch is ideal for preventing fabric fraying, while a shorter length provides greater stitch density. Begin sewing, guiding the fabric as with a straight stitch, but allowing for the zigzag pattern.
Experiment with different width and length combinations on scrap fabric to understand their effects before applying to your project. Consistent speed yields even zigzag lines.
Troubleshooting Common Issues
Common problems include thread breakage, skipped stitches, and needle breakage. Always ensure correct threading, a suitable needle, and avoid manually forcing the fabric.
Thread Breakage Problems
Frequent thread breakage often indicates a simple fix. First, discard and replace the needle with a new one, ensuring it’s the correct size for your fabric. Verify the machine is correctly threaded, following the manual’s diagram precisely. Using the wrong needle size or a damaged needle are common causes.
Also, ensure you’re using compatible bobbins – Singer Class 15 transparent bobbins are often recommended. Avoid pulling or pushing the fabric; let the feed dogs guide it.
Skipped Stitches
Skipped stitches frequently stem from a dull or damaged needle; replace it immediately. Confirm the needle is correctly inserted – a slightly off position can cause issues. Ensure you’re using the appropriate needle size for the fabric weight. Incorrect threading is another common culprit; re-thread both the upper and lower threads.
Finally, verify the bobbin is wound evenly and inserted correctly into the bobbin case.
Needle Breakage
Needle breakage often results from forcing the fabric through the machine; let the feed dogs guide the material. A bent needle is a primary cause – discard and replace it with a new one. Using the wrong needle size for the fabric’s weight significantly increases breakage risk.
Always ensure correct threading and avoid sewing over pins.
Maintenance and Cleaning
Regular oiling, bobbin area cleaning, and dust removal are crucial for maintaining your vintage Singer. These steps ensure smooth operation and longevity.
Oiling Your Singer Machine
Proper lubrication is vital for a smoothly functioning vintage Singer. Use a quality sewing machine oil, applying it to all moving parts as indicated in your machine’s manual. Focus on areas like the bobbin race, shuttle hook, and presser foot bar. Avoid over-oiling, as excess oil attracts dust and lint. Wipe away any excess with a clean cloth after oiling to maintain optimal performance and prevent build-up.
Cleaning the Bobbin Area
Regular cleaning of the bobbin area prevents lint and debris buildup, ensuring smooth stitch formation. Carefully remove the bobbin case and thoroughly brush away any accumulated lint using a small brush. Inspect the bobbin race for any remaining fibers. A clean bobbin area is crucial for preventing skipped stitches and maintaining consistent sewing quality.
Dust Removal
Accumulated dust can hinder your Singer’s performance. Regularly use a soft brush or a can of compressed air to gently remove dust from all machine parts, both internal and external. Pay close attention to areas around the bobbin, feed dogs, and motor. Consistent dust removal ensures optimal functionality and longevity.
Advanced Techniques
Vintage Singers excel at darning, buttonholes, and free-motion sewing, unlocking creative potential. Return the machine for professional examination if adjustments are needed!
Darning with Your Singer
Darning allows repairing holes in fabric, extending garment life. Utilize a darning foot for consistent stitch length and even coverage. Lower the feed dogs to freely move the fabric under the needle. Employ a zigzag stitch, adjusting width and length based on fabric weight and damage. Carefully maneuver the fabric, building up new threads to cover the worn area, creating a durable mend.
Buttonhole Creation
Buttonhole features may vary significantly on vintage Singers; consult your specific model’s manual for precise instructions. Many older machines require a buttonhole foot and careful stitch adjustments. Practice on scrap fabric first! Slowly guide the fabric, ensuring consistent stitch formation around the buttonhole’s perimeter. Secure the ends with reinforcement stitches for durability.
Free Motion Sewing
Free motion sewing on vintage Singers often involves disengaging the feed dogs, requiring a darning foot. Lower the presser foot and gently move the fabric to create designs. Practice controlling speed and direction; it takes patience! Consistent stitch length depends on your hand movement. Experiment with different threads and fabrics.
Finding Replacement Parts
Locate part numbers for your Singer, then explore online resources or local repair shops. Authorized dealers can assist with examination and repair needs;
Identifying Part Numbers
Accurately identifying part numbers is crucial when sourcing replacements for your vintage Singer. Often, these numbers are stamped directly onto the part itself, though they can be faint or obscured with age and use. Consulting a Singer parts list specific to your machine’s model – often found online or within digitized manuals – will provide a comprehensive reference.
Carefully compare the part in question with diagrams in the parts list to confirm its identity before attempting to locate the corresponding number. This ensures you order the correct component, avoiding frustrating delays and incorrect fitments.
Online Resources for Parts
Numerous online platforms specialize in vintage Singer sewing machine parts. Websites dedicated to Singer machines often host extensive catalogs and forums where users share part numbers and sourcing information. eBay and Etsy are also valuable resources, frequently offering both new-old-stock and used components.
Remember to verify seller ratings and carefully review part descriptions to ensure compatibility with your specific machine model. Digitalized manuals can aid in identifying the correct part needed for your repair.
Local Sewing Machine Repair Shops
Experienced technicians at local repair shops possess invaluable knowledge regarding vintage Singer machines. They can accurately diagnose issues, source hard-to-find parts, and perform necessary repairs or adjustments. Often, these shops have accumulated a library of manuals and technical documentation.
Consulting with a professional ensures proper functionality and extends the lifespan of your treasured machine. Don’t hesitate to seek their expertise for complex problems or routine maintenance.
Safety Precautions
Always return the sewing machine to an authorized dealer for examination, repair, or electrical adjustments. Never attempt self-repair of complex issues!
Electrical Safety
Ensure your Singer machine is properly grounded to prevent electric shock. Never operate the machine with a damaged cord or plug; replace them immediately. Disconnect the power supply before cleaning, changing the needle, or performing any maintenance. Avoid using extension cords if possible, and if necessary, use a heavy-duty cord rated for the machine’s amperage.
Needle Safety
Always disconnect the power before changing the needle to avoid accidental injury. Use the correct needle type and size for your fabric; a bent, dull, or damaged needle should be discarded immediately. Insert a new needle firmly, ensuring it’s securely in place. Never sew over pins or thick materials that could bend or break the needle.
General Operating Safety
Never operate the sewing machine if it’s damaged or requires repair; return it to an authorized dealer. Avoid manually pushing or pulling fabric, allowing the feed teeth to guide it. Keep fingers away from the needle while sewing. Disconnect the machine when not in use, and always supervise children nearby.
Resources and Further Learning
Explore online manuals, Singer sewing machine forums, and vintage Singer communities for support and knowledge. Digital manuals are freely downloadable now!
Online Manuals and Downloads
Singer embraced a Green Initiative in 2019, transitioning to exclusively online user manuals available for free download. While promoting digital access, you can conveniently download and print these manuals as needed.
The Manual Library offers downloadable Singer manuals, including options for text-based PDF files and single-page processed JP2 ZIP formats. These resources provide comprehensive guidance for operating and maintaining your vintage machine, ensuring a smooth sewing experience.
Singer Sewing Machine Forums
Singer sewing machine forums are invaluable resources for owners of vintage machines; These online communities offer a platform to connect with fellow enthusiasts, share knowledge, and troubleshoot issues.
Often, users post links to downloadable manuals or offer guidance on locating specific instructions for older models. Engaging with these forums can provide practical advice and support beyond the official documentation.
Vintage Singer Communities
Vintage Singer communities, beyond forums, provide dedicated spaces for enthusiasts. These groups often focus on restoration, repair, and the preservation of these classic machines. Members frequently share digitized manuals and resources, assisting others in understanding their machines.
These communities are excellent for finding specialized knowledge and connecting with experts passionate about older Singer models, offering support beyond standard documentation.
No Responses