Essential Steps for Beginners
Start by preparing the loom, setting up warp threads, and learning basic weaving techniques. Begin with simple projects like scarves or potholders to build confidence and skills.
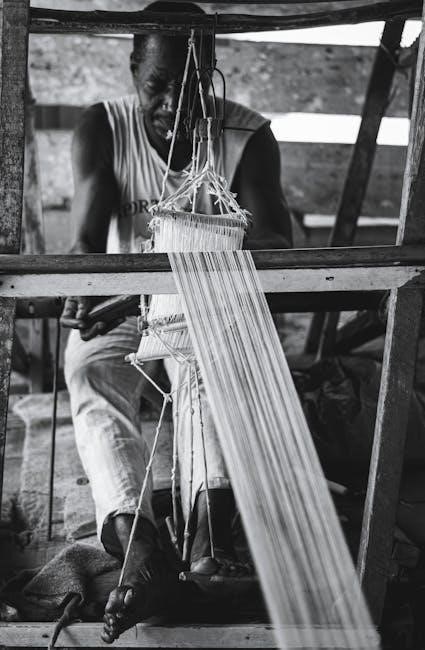
1.1. Preparing the Loom
Preparing the loom is the first step in weaving. Start by assembling the frame and stretching the warp threads evenly. Secure the threads tightly to maintain proper tension. Use a comb or shuttle to guide the yarn, ensuring the warp is aligned. For beginners, a simple frame loom or DIY cardboard loom is ideal. Adjust the tension to prevent sagging or over-tightening, which can distort the fabric. Once set, thread the warp through the heddles or slots, depending on the loom type. This setup ensures a stable base for weaving. Always double-check the alignment and tension before starting to weave.
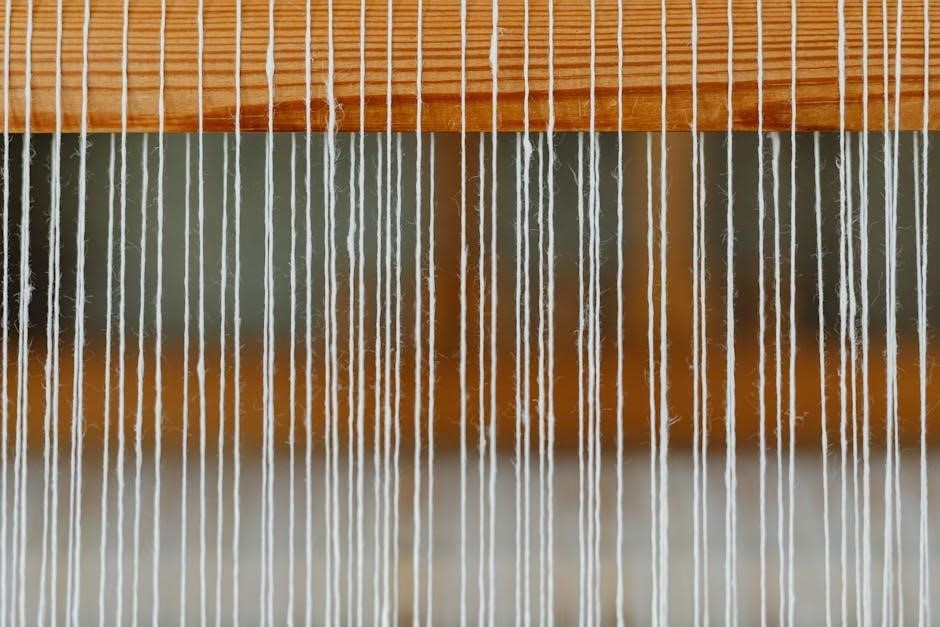
1.2. Setting Up the Warp Threads
Setting up the warp threads is crucial for weaving. Begin by creating a warp, either by chaining or directly warping onto the loom. Secure the warp threads tightly to maintain even tension. Use a comb or shuttle to guide the yarn, ensuring threads are evenly spaced. For frame looms, thread the warp through the heddles or slots, while for DIY cardboard looms, cut slits and pass the yarn through. Proper alignment and tension are key to prevent distortion. Once the warp is in place, it provides the foundation for weaving the weft threads. Always check for even spacing and tension before proceeding to ensure a smooth weaving process.
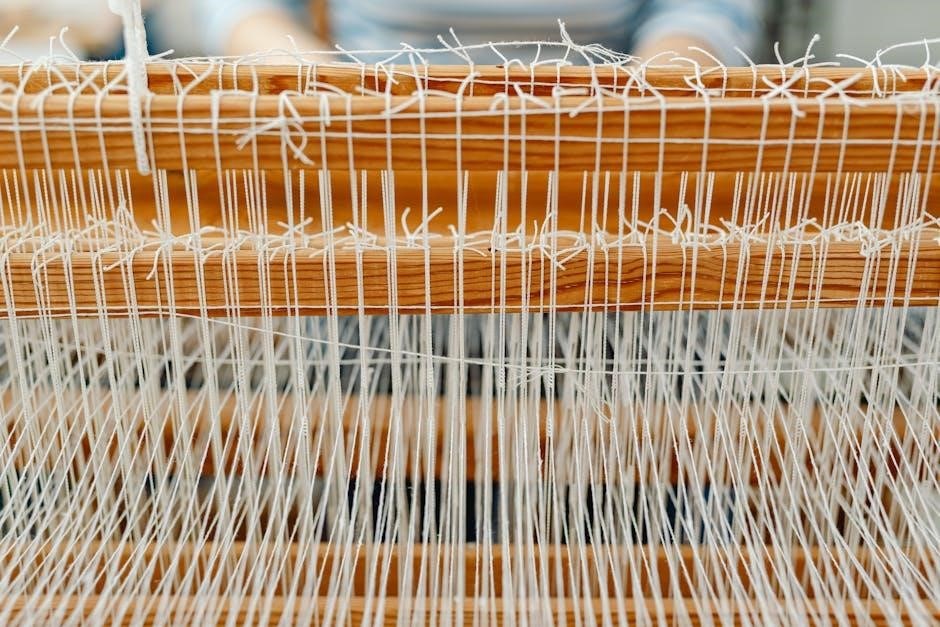
1.3. Basic Weaving Techniques
Mastering basic weaving techniques is essential for creating beautiful fabrics. Start with a plain weave, where the weft yarn passes over and under the warp threads in a simple sequence. Use a shuttle or your fingers to guide the yarn, ensuring even tension. For frame or DIY looms, begin by threading the warp, then interlace the weft yarn row by row. Keep the weft taut but not too tight to avoid distortion. Experiment with geometric patterns, like circles or stripes, for visual interest. Use a comb or similar tool to align threads and maintain consistency. Practice these techniques on simple projects, such as scarves or wall hangings, to build confidence and skill. This foundation will allow you to explore more complex designs as you progress.
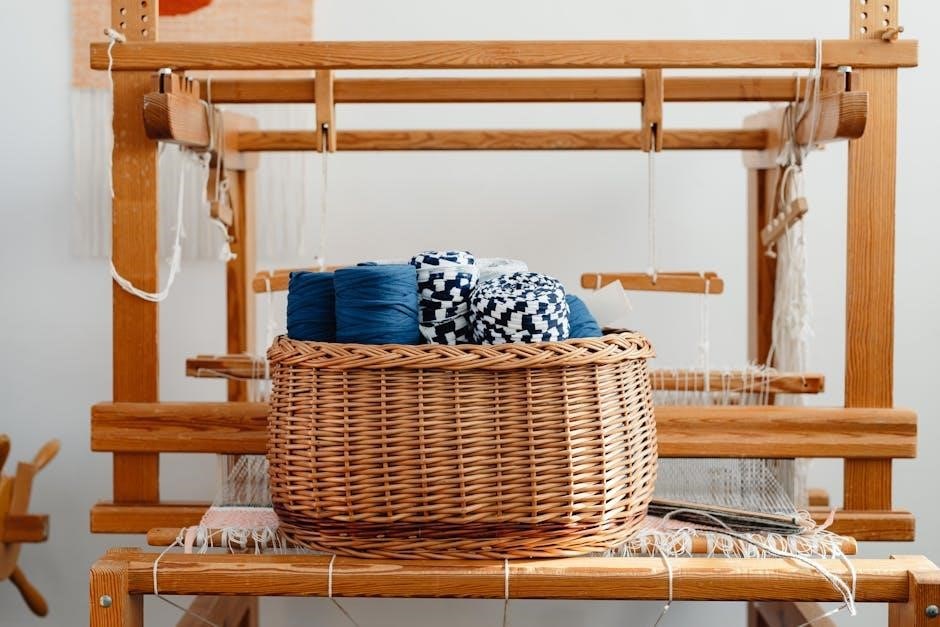
Choosing the Right Loom
Selecting the right loom involves considering types like frame, tabletop, or floor looms. Choose based on project size, skill level, and portability. DIY options are budget-friendly and easy to customize for beginners.
2.1. Types of Looms for Beginners
Beginners can choose from various loom types, including frame looms, tabletop looms, and floor looms. Frame looms are portable and ideal for small projects, while tabletop looms offer more stability. Floor looms are versatile but larger and better for advanced weavers. Lap looms are another option, perfect for creating small textiles like scarves. DIY looms, such as cardboard looms, are budget-friendly and great for experimenting. Each type caters to different needs, ensuring there’s a loom for every skill level and project size. Choosing the right one can enhance the weaving experience and make learning easier and more enjoyable.
2.2. Factors to Consider When Selecting a Loom
When choosing a loom, consider factors like project size, portability, and budget. Frame and tabletop looms are ideal for small to medium projects, while floor looms suit larger textiles. Portability is key if you plan to weave on the go. Budget-friendly options include DIY cardboard looms or lap looms. Ease of setup and use is crucial for beginners, as complex looms may be overwhelming. Additionally, think about the type of yarn and materials you’ll use, as some looms are better suited for specific fibers. Durability and brand reputation should also be considered for long-term use. By evaluating these factors, you can select a loom that meets your needs and enhances your weaving journey.
2.3. DIY Loom Options
Diy looms are a cost-effective and creative way to start weaving. A simple cardboard loom can be made by cutting slits at even intervals, creating a frame for your warp threads. For a more durable option, consider using PVC pipes or wooden dowels to construct a small lap loom. These diy setups are perfect for beginners, allowing you to experiment with basic weaving techniques without a significant investment. Additionally, 3D-printed loom models are emerging as innovative and customizable options. With minimal materials and tools, you can build a functional loom tailored to your project needs. This approach not only saves money but also offers a fun and hands-on introduction to weaving.
Understanding Weaving Patterns
Start with basic patterns like plain weave and twill. Use software to design custom patterns and experiment with colors and sequences for unique textile designs easily.
3.1. Basic Weave Patterns
Begin with the plain weave, the simplest pattern where weft yarn crosses warp yarn alternately. This creates a balanced, smooth fabric. Start by weaving over one warp thread and under the next, repeating the process. For a twill weave, shift the weft yarn to create a diagonal pattern; These foundational techniques are easy to learn and form the basis for more complex designs. Use a simple loom or even cardboard to practice. Keep tension consistent for even results. Experiment with colors or materials once comfortable with the basics. These patterns are perfect for beginners, allowing you to build confidence before exploring custom designs or advanced techniques.
3.2. Creating Custom Designs
Once comfortable with basic patterns, explore custom designs by experimenting with colors, materials, and techniques. Use software or apps to visualize and plan intricate designs before weaving. Start with simple modifications to basic weaves, like adding a pop of color or texture. Sketch your ideas to guide your creativity. Incorporate different yarn types or embellishments for unique effects. Try weaving geometric shapes or floral motifs for visual interest. For precision, use tools like the Loomerly app to map out designs. Remember, custom designs often require trial and error, so don’t be afraid to adjust as you go. This step is where your creativity shines, allowing you to craft one-of-a-kind textiles.

3.3. Using Software for Pattern Design
Software tools can greatly enhance your weaving experience by allowing you to design and visualize patterns before starting your project. Programs like Java-based weaving software or apps such as Loomerly enable you to create intricate designs, experiment with color combinations, and simulate how your weave will look. These tools are especially useful for custom designs, as they provide precise control over thread placement and pattern repetition. Beginners can use these programs to plan simple projects, while experienced weavers can explore complex designs. Many software options are user-friendly, offering step-by-step guides and adjustable settings to suit your skill level. This digital approach ensures your ideas are flawlessly translated into physical textiles, making the weaving process more efficient and enjoyable.
Tips for Beginners
Start with simple projects like scarves or potholders. Use frame looms or DIY cardboard looms to keep costs low and make learning enjoyable and accessible.
4.1. Starting with Simple Projects
Begin with simple projects like scarves, potholders, or wall hangings to build confidence and skills. These projects require minimal materials and are easy to complete.
Use yarns or fabric strips and basic weaving patterns. Handheld frame looms or DIY cardboard looms are great for starters. They are affordable and easy to handle.

Start by creating a small warp and weave through it with a shuttle or your fingers. This will help you understand the basics of tension and interlacing threads.
Practice on simple designs before moving to complex patterns. This approach ensures a smooth learning curve and keeps the process enjoyable for beginners.
Advanced Weaving Techniques
Explore incorporating multiple colors, adding different materials, and troubleshooting common issues to enhance your weaving skills and create intricate designs with ease and precision.
5.1. Incorporating Multiple Colors
Incorporating multiple colors into your weaving adds vibrancy and creativity to your projects. Start by planning your color scheme in advance to ensure a cohesive design. Use a shuttle or yarn needle to weave different colored yarns through the warp threads. Begin with two colors, alternating them to create stripes or patterns. Gradually add more colors, maintaining even tension to prevent distortion. Experiment with blending colors by carrying yarns across the warp or using a pick-up stick for intricate designs. This technique allows for endless creativity, enabling you to craft unique and visually striking fabrics. Practice on small projects before moving to larger ones to master the process.
5.2. Adding Different Materials
Adding different materials to your weaving projects can enhance texture and visual interest. Start by experimenting with metallic threads, ribbons, or fabric strips alongside traditional yarns. Use a tapestry needle to weave thicker materials like leather or fabric scraps through the warp. For smoother integration, try blending yarns of varying weights or textures. Incorporate natural elements like wool, linen, or even paper for unique effects. When using multiple materials, maintain consistent tension to ensure the weave remains balanced. Begin with simple combinations and gradually explore more complex mixes as you gain confidence. This technique allows you to create dynamic, multi-dimensional fabrics that stand out, making your weaving projects truly distinctive and personalized.
5.3. Troubleshooting Common Issues
When weaving, common issues like uneven tension, tangled threads, or misaligned yarns can arise. To fix uneven tension, gently adjust the warp threads before weaving begins. For tangled weft threads, use a comb or fork to detangle as you go. If the shuttle doesn’t move smoothly, ensure heddles are properly aligned and the shed is clear. Correct mistakes early to avoid unraveling the fabric. If threads are too tight or loose, re-tension them carefully. Regularly inspect your work to catch errors before they escalate. Using a picking stick can help manage the shed and prevent tangles. Lastly, take breaks to maintain focus and avoid fatigue, which can lead to mistakes. Starting over is sometimes the best solution for complex issues.
No Responses